Automatic installation
FusionReactor can be installed using either a full installer (recommended) or preconfigured archives. The full installer includes a Java Runtime Environment (JRE) and provides options for customizing the installation path, runtime user, password, and port. Preconfigured archives require an existing JRE on your server and use default settings.
Download options
-
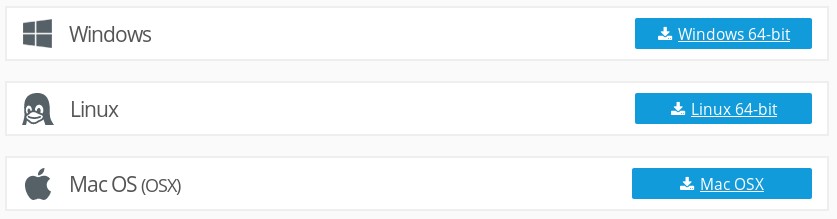
Full Installer (Recommended): Download directly from the FusionReactor download page or use the direct links below:
-
Preconfigured Archives: Available as a Windows zip file and a Tarball for MacOS and Linux. These assume default configurations and require your own JRE.

Both the full installer and preconfigured installations include the FusionReactor Administration Manager (FRAM), and the setup typically takes only a few minutes.
Using the full installer
There is a separate installer for each support platform.
Note
As of FusionReactor version 8.1.0, 32-bit installers are no longer available. For 32-bit systems, please refer to the manual installation guide.
| Platform | Installer name | To run |
|---|---|---|
| Windows | FusionReactor_windows-x64.exe | Run FusionReactor_windows-x64.exe as an Administrator user |
| Linux | FusionReactor_linux-x64.sh | Run FusionReactor_linux-x64.sh as root |
| MacOS | FusionReactor_macos.dmg | Run FusionReactor_macos.dmg as root |
The installer must be executed with elevated privileges (Administrator/root). Insufficient permissions will cause the installer to exit with a warning. Only one instance of FusionReactor can be installed on a single server.
Installation steps
Running the installer for the first time, you will have the option to configure your installed FRAM (FusionReactor Administration Manager) service. You can only have one copy of FusionReactor installed on a single server.
-
Welcome: The installer starts with a welcome screen. Click Next.

-
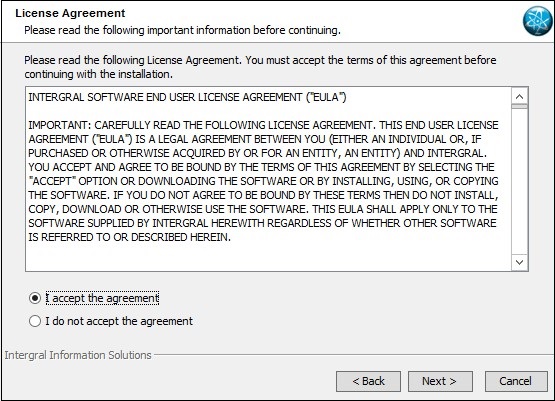
License Agreement: Review the agreement, select "I accept the agreement", and click Next. Clicking Cancel will exit the installer.
-
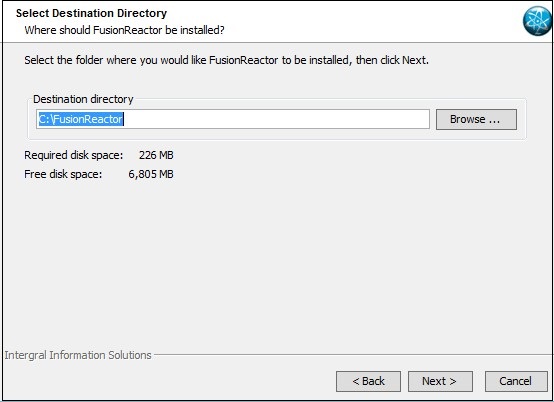
Destination Directory: Choose the installation directory. Default paths are:
Platform Default Path Windows C:\FusionReactor\Instance\myInstanceLinux /opt/fusionreactor/instance/myInstanceMacOS /Applications/FusionReactor/instance/myInstanceClick Next to continue.
-
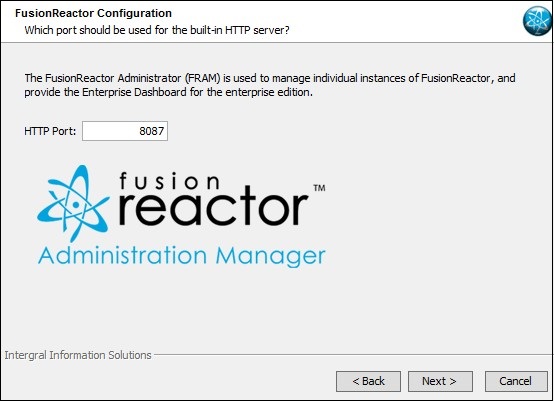
FusionReactor Configuration (Port): The default HTTP port for the FusionReactor Administrator is 8087. The installer checks for availability. Click Next.
-
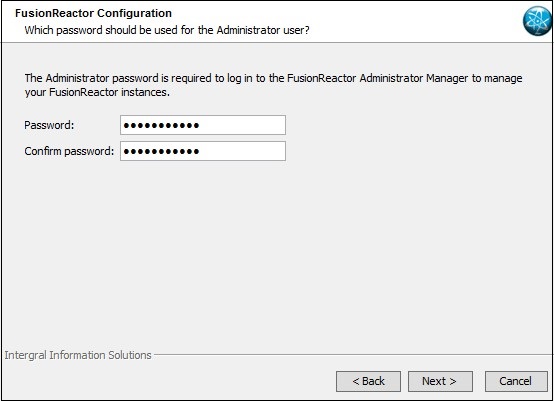
FusionReactor Configuration (Password): Set the password for the Administrator user and confirm it. The password must be at least five characters and match the confirmation.
-
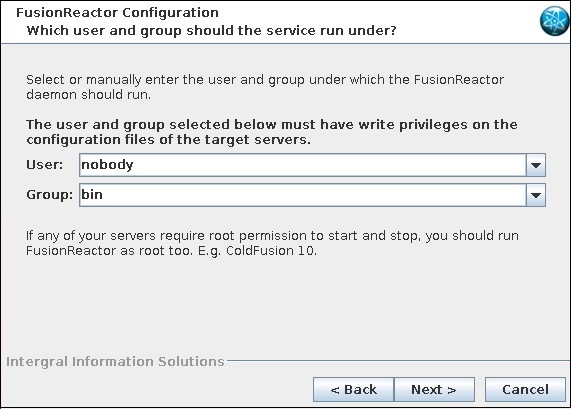
(Linux/MacOS Only) FusionReactor Configuration (Runtime User): Specify the user and group for the FusionReactor daemon. It's recommended to use the same user and group as your application servers. Click Next.
-
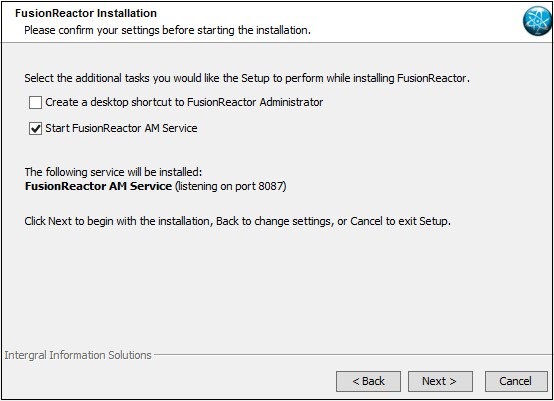
Confirm Settings: Review your configuration. On Windows, you can choose to create a desktop shortcut and start the FRAM service after installation.
Tip
Deselect Create Desktop Shortcut to FusionReactor Administration Manager to skip shortcut creation.
Tip
Deselect Start FusionReactor Service if you prefer to start FRAM manually later.
Click Next to begin the installation, Back to modify settings, or Cancel to exit.
-
Installation Completed: Once finished, the Installation completed screen appears. Click Start configuring instances or navigate to
http://{hostname}:{FRAM port}to access the Instance Manager.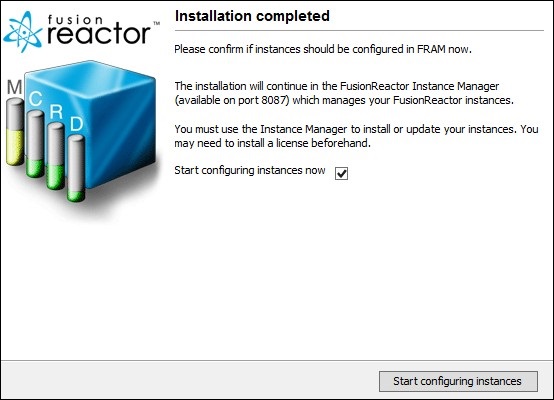
Warning
Installing the FRAM service is only the first step. You must use the Instance Manager (accessible via the provided link or URL) to install FusionReactor onto your application servers. Refer to Configuring a FusionReactor instance in FRAM for the next steps.
Video guide
Need more help?
Contact support in the chat bubble and let us know how we can assist.