Installing
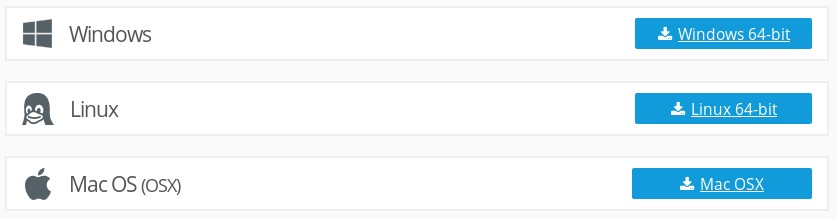
You can download the full installer from the FusionReactor download page on the website or via the URLs directly.
| File | URL |
|---|---|
| FusionReactor Full Installer for Windows | Windows |
| FusionReactor Full Installer for Linux | Linux |
| FusionReactor Full Installer for MacOS | MacOS |
The full installer or preconfigured installation of FusionReactor both include the FRAM (FusionReactor Administration Manager) and should only take a few minutes to set up.
The full installer includes a JRE (Java Runtime Environment) and allows you to customize your setup location, runtime user, password and port.

The preconfigured installation assumes the default configuration of the FusionReactor and requires you to have your own JRE configured on the server. You will be prompted to set a password as soon as the installer runs.
There is a preconfigured Windows zip file or Tarball preconfigured to run on both MacOS and Linux operating systems.
Video
Using the full installer
There is a separate installer for each support platform.
Note
As of FusionReactor version 8.1.0 there are no 32 bit installers available. To install FusionReactor on 32 bit systems you must manually install FusionReactor.
| Platform | Installer name | To run |
|---|---|---|
| Windows | FusionReactor_windows-x64.exe | Run FusionReactor_windows-x64.exe as an Administrator user |
| Linux | FusionReactor_linux-x64.sh | Run FusionReactor_linux-x64.sh as root |
| MacOS | FusionReactor_macos.dmg | Run FusionReactor_macos.dmg as root |
On each platform the installer must be run as an elevated used such as Administrator / Super user. If an attempt is made to run the install without an elevated user the installer will exit and a warning will appear.
Installing using the full installer
Running the installer for the first time, you will have the option to configure your installed FRAM (FusionReactor Administration Manager) service. You can only have one copy of FusionReactor installed on a single server.
When running the installer, you will first see a welcome screen.
Step 1: Clicking the Next button will proceed with the installation and open the license agreement screen.
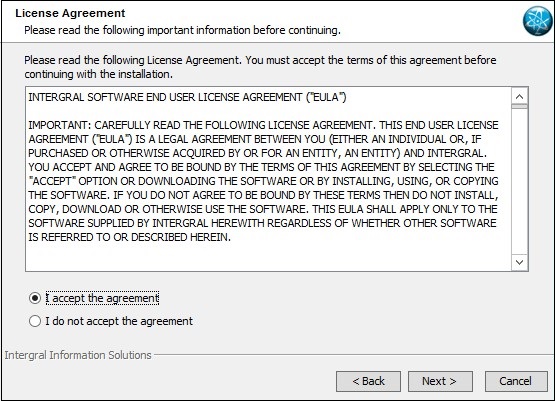
Step 2: Carefully review the license agreement before continuing, then choose the I accept the agreement option (if you accept the terms and conditions) and click Next to proceed. Press Cancel if you do not accept the license agreement. This will exit the installer.
Step 3: If you have accepted the license agreement, clicking Next displays the Select Destination Directory screen.
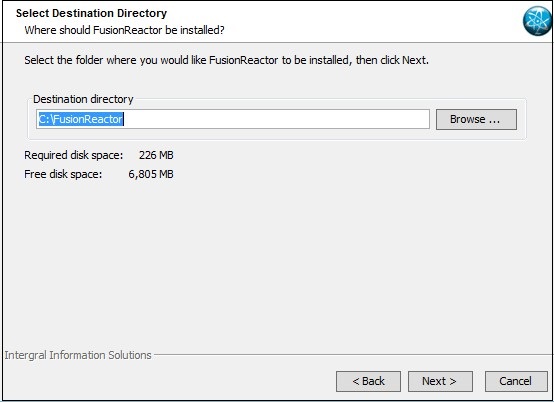
On this screen you select the directory in which FusionReactor should be installed. By default FusionReactor will be installed into:
| Platform | Path |
|---|---|
| Windows | C:\\FusionReactor\Instance\myInstance |
| Linux | /opt/fusionreactor/instance/myInstance |
| MacOS | /Applications/FusionReactor/instance/myInstance |
Step 4:Click Next to proceed to the FusionReactor Configuration screen.
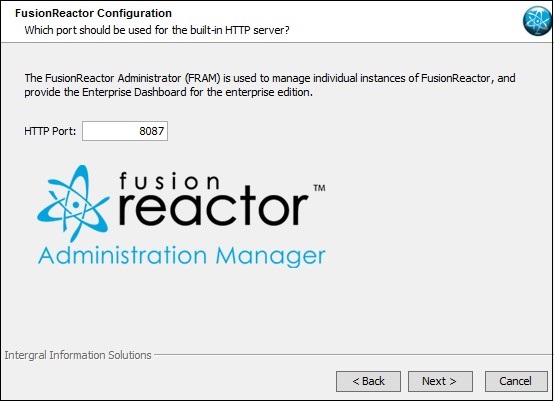
The default HTTP port for FusionReactor Administrator is 8087. The installer will check if the selected port is available by attempting to open a connection to it and change the default port if it is in use. However, if you have another application using this port which is currently not running the installer will not be able to warn you.
Step 5: Clicking Next opens the FusionReactor Configuration screen.
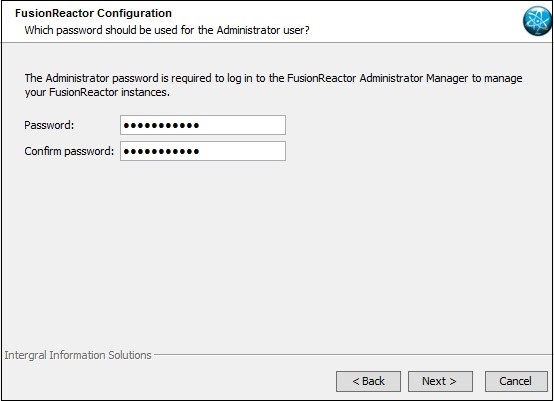
Specify the password to be used by the Administrator user on FusionReactor. To validate the password you have to enter it one more time in the confirmation field. The installer will check that the password is at least five characters long and that the two values you have entered are identical.
On Linux and MacOS installations, clicking next will open a further FusionReactor Configuration screen.
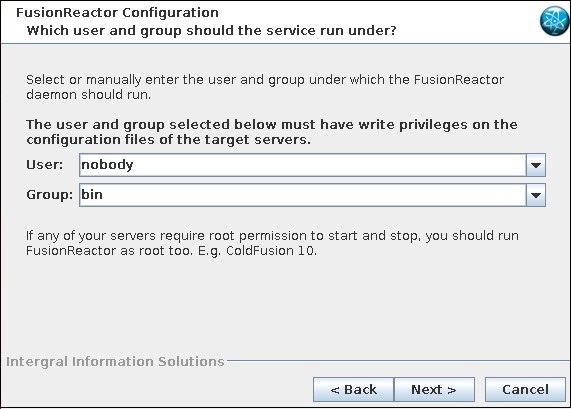
On this screen you configure the user and group the FusionReactor daemon will run under. Typically you will choose the same user and group as used by the application servers on this computer into which you want to install instances of FusionReactor.
Step 6: Clicking next opens the Confirm Settings screen.
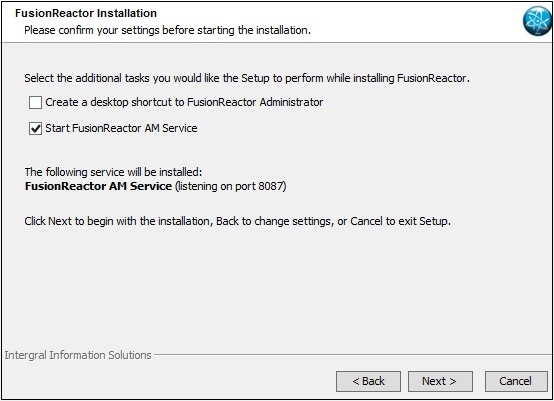
On the Confirm Settings screen shown you can choose if the installer should create a desktop shortcut to FusionReactor Administrator (Windows only) and if the FRAM service should be started after all files have been installed.
Tip
If you do not want the installer to create a desktop shortcut unselect the option Create Desktop Shortcut to FusionReactor Administration Manager.
Tip
If you do not wish to start the FRAM service at this moment, or wish to manually start the FRAM service unselect the option Start FusionReactor Service.
Step 7: Click Next to begin installing FusionReactor, Back to review the installation configuration or Cancel to exit the installer.
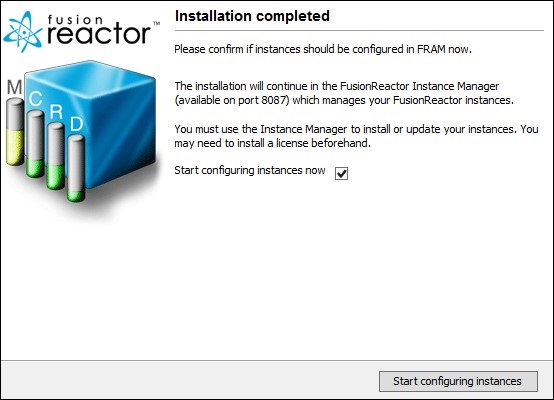
Step 8: After the installation has finished you are presented with the Installation completed screen.
Click Start configuring instances or navigate to {hostname}:{FRAM port} to access the instance manager on the FRAM service.
Warning
Installing the FRAM service of FusionReactor is only part of the install process. The FRAM will installation will give you access to the Instance Manager and Enterprise Dashboard, which you must then use to install FusionReactor onto your Application Servers. To continue the installation see Configuring a FusionReactor instance in FRAM
Need more help?
Contact support in the chat bubble and let us know how we can assist.